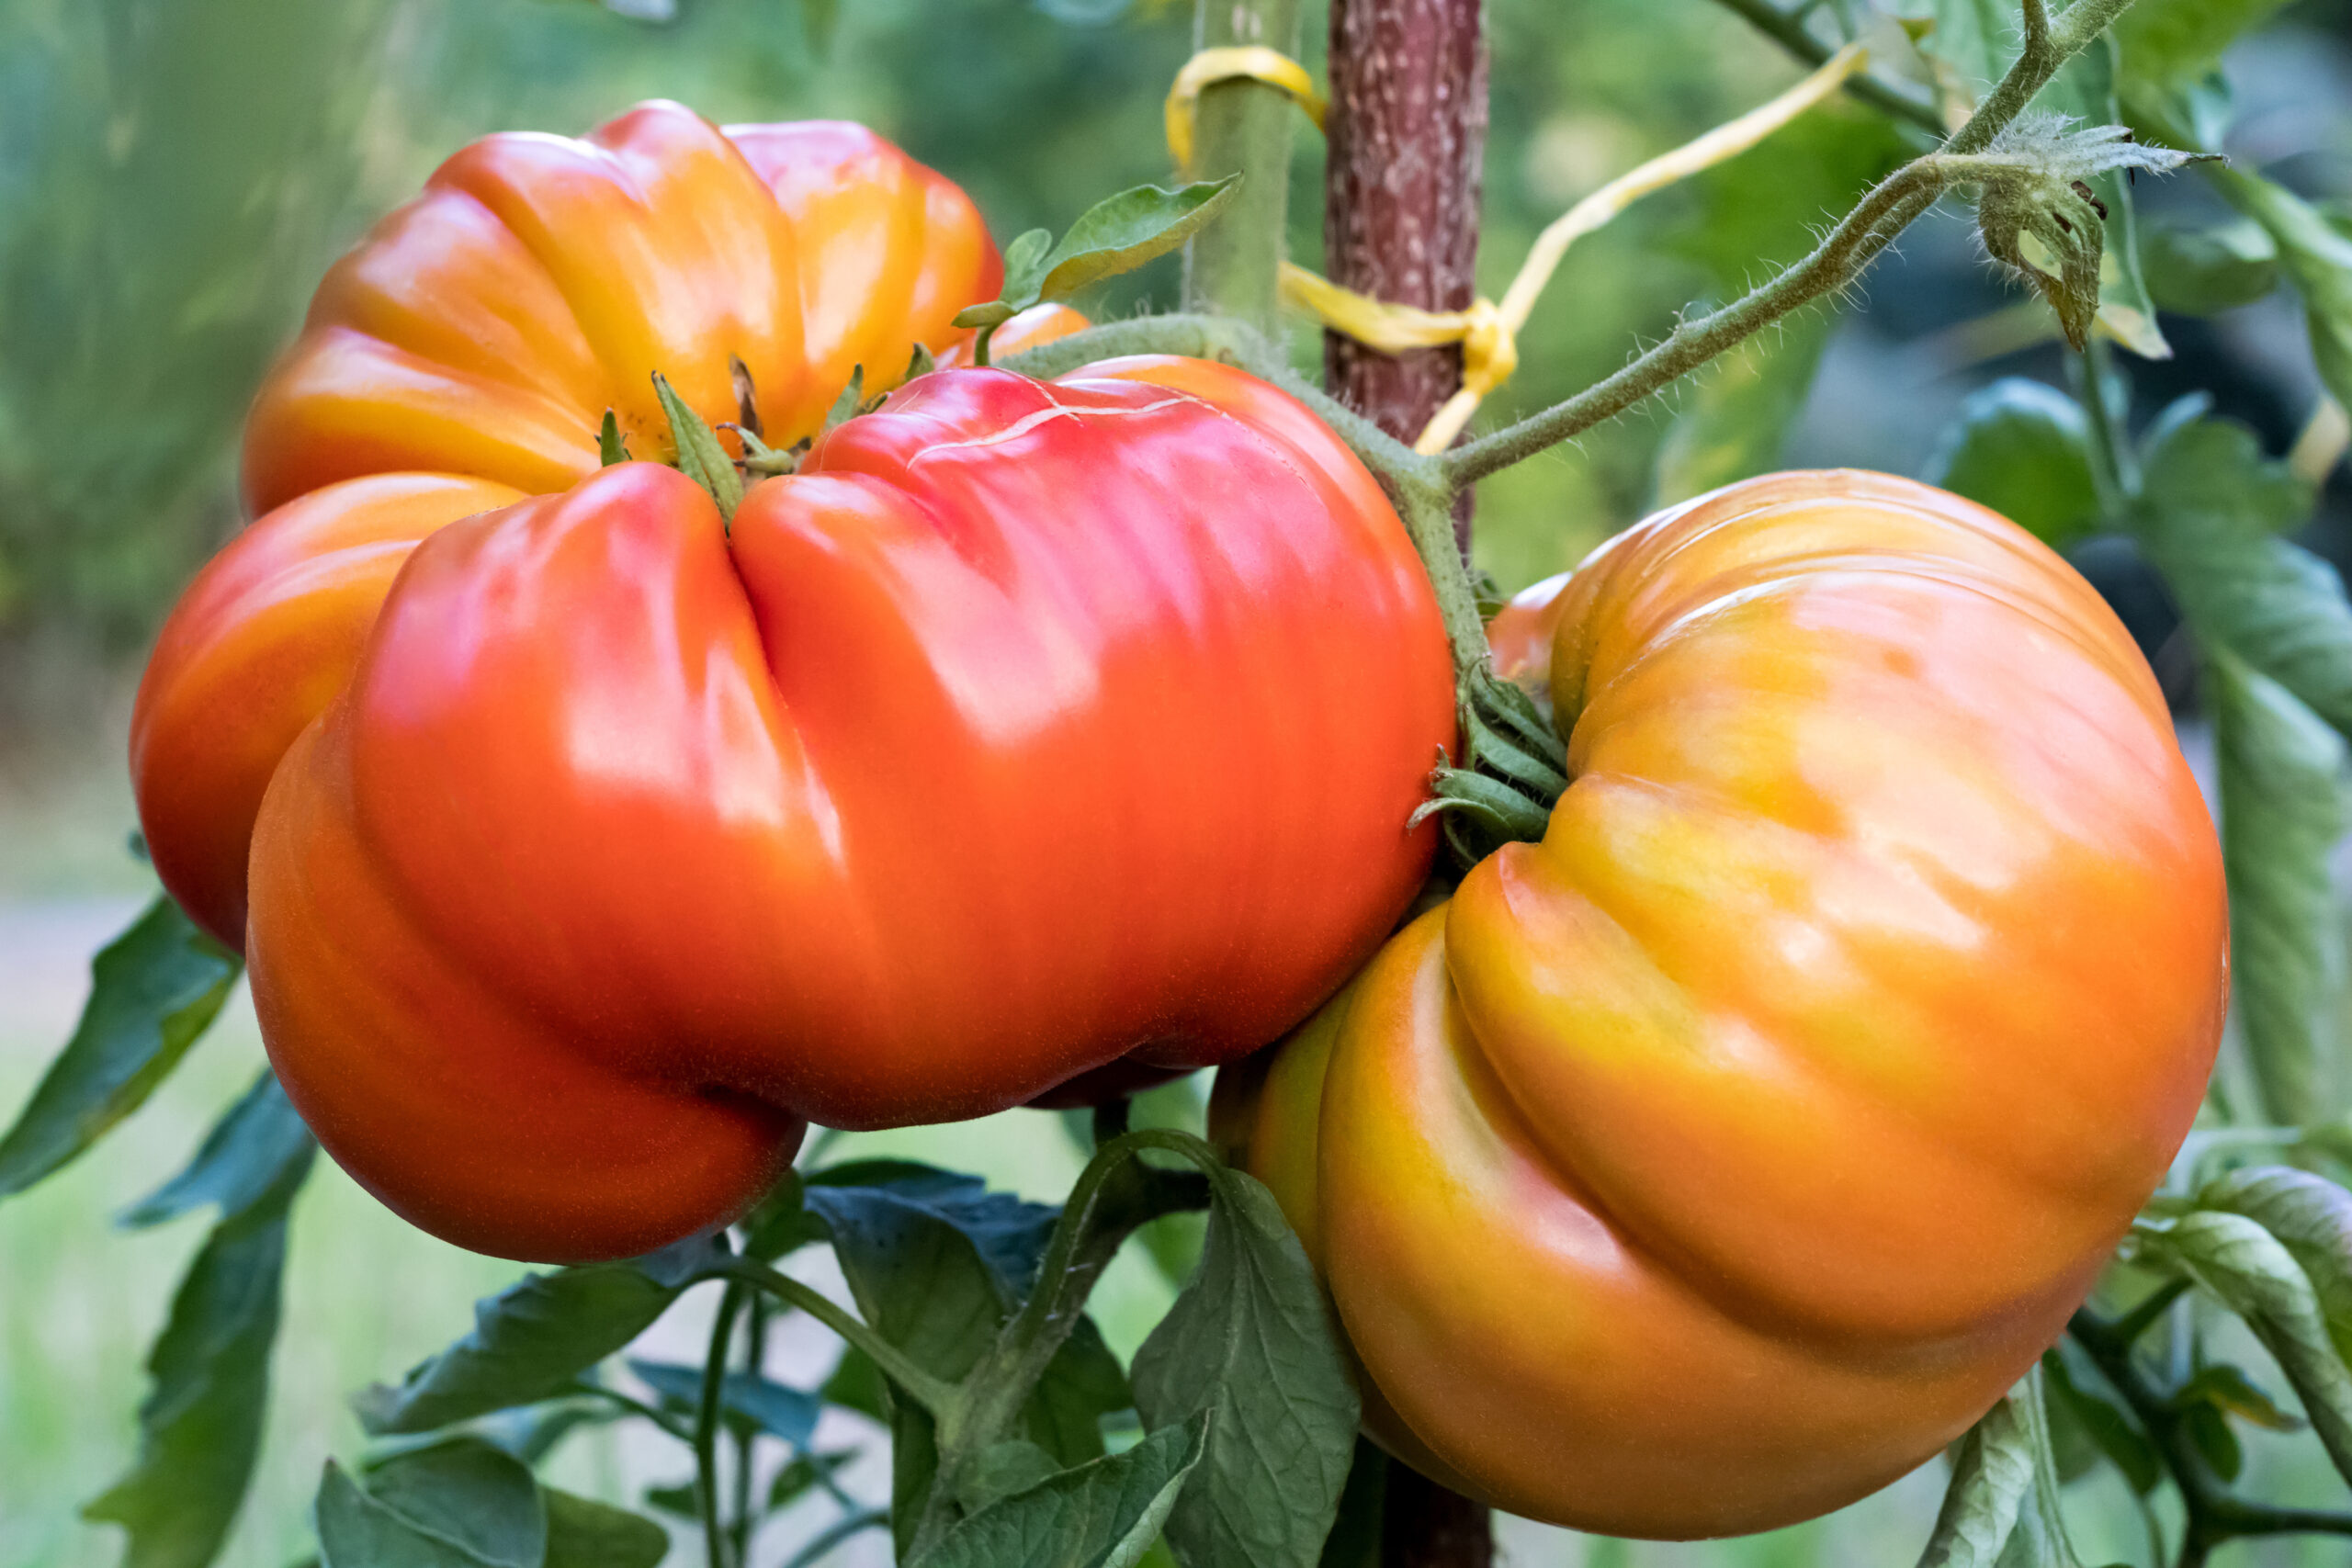
Are you ready to embark on a rewarding journey of growing your tomatoes from seed? This guide will walk you through the process, from sowing to transplanting, ensuring you’ll have delicious homegrown tomatoes in no time.
Timing is Everything
Start your tomato seeds indoors 6-8 weeks before the last expected spring frost date in your area. To know when this is, research when the last frost date is for your growing area, and back up about 7 weeks to start your seeds indoors. For example, if your last frost date is April 15th then you should start your seeds indoors between February 18 – 25. From the time of planting the seed, tomatoes take roughly 90-110 days to grow and finish fruit. So if you start your seeds indoors, you can expect to pick tomatoes around June 8.
Carefully planning your seed start date ensures your seedlings will be ready for transplanting when the weather warms up and you will be enjoying tomatoes in early June.
Gathering Your Supplies
Before you begin, collect the following:
High-quality seed starting mix
Clean containers with drainage holes
Tomato seeds of your choice
Labels
Spray bottle or watering can
Grow lights or a sunny window
Sowing the Seeds
Fill your containers with moistened seed starting mix, leaving about 1/4 inch of space at the top
Plant 2-3 seeds per cell or container, 1/4 inch deep
Gently cover the seeds with soil and mist the surface to ensure good seed-to-soil contact.
Label your containers with the variety and date sown
Cover the containers with plastic wrap or a clear dome to retain moisture
Germination and Early Care
Place your seed trays in a warm location (75-85°F) for optimal germination
Once seedlings emerge, usually within 7-10 days, remove the cover and move them to a bright spot or under grow lights.
Thinning and Transplanting
When seedlings develop their first true leaves, thin them to one plant per cell by snipping off the weaker seedlings at soil level
As they grow, transplant them into larger containers if needed.
Preparing for the Garden
About a week before transplanting outdoors, begin hardening off your seedlings by gradually exposing them to outdoor conditions
Planting in the Garden
Choose a sunny spot in your garden with well-draining soil.
Dig deep holes and mix in some compost and slow-release fertilizer.
Remove the lower leaves from your seedlings and plant them deeply, burying the stem up to the lowest remaining leaves
Water thoroughly and mulch around the plants to retain moisture.
Ongoing Care
Water regularly, keeping the soil consistently moist but not waterlogged.
Support your plants with stakes or cages as they grow.
Feed with a balanced fertilizer every few weeks.
Monitor for pests and diseases, addressing issues promptly.
By following these steps, you’ll be well on your way to enjoying juicy, homegrown tomatoes. Remember, gardening is a learning process, so don’t be discouraged if you face challenges. With patience and care, you’ll soon be harvesting your own delicious tomatoes straight from the vine.
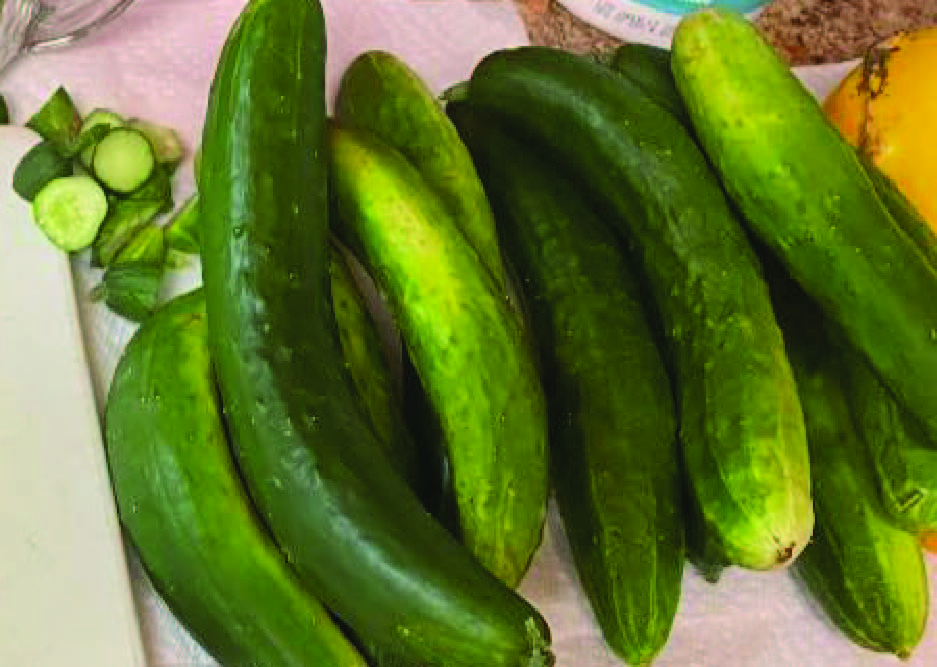
Cucumbers are a favorite summer treat and so easy to grow! This guide will walk you through the process, from sowing to transplanting, ensuring you’ll have delicious homegrown cucumbers in no time.
Timing is Everything
Start your cucumber seeds indoors 7 weeks before the last expected spring frost date in your area. To know when this is, research when the last frost date is for your growing area, and back up 7 weeks to start your seeds indoors. For example, if your last frost date is April 15th then you should start your seeds indoors between February 18 – 25. From the time of planting the seed, tomatoes take roughly 50-70 days to grow and finish fruit. So if you start your seeds indoors, you can expect to begin picking cucumbers around April 19.
Carefully planning your seed start date ensures your seedlings will be ready for transplanting when the weather warms up and you will be enjoying cucumbers as early as April.
Gathering Your Supplies
Before you begin, collect the following:
High-quality seed starting mix
Clean containers with drainage holes
Cucumber seeds of your choice
Labels
Spray bottle or watering can
Grow lights or a sunny window
Sowing the Seeds
Fill your containers with moistened seed starting mix, leaving about 1/2 inch of space at the top
Plant 2 seeds per cell or container, 1/2 inch – inch deep
Gently cover the seeds with soil and mist the surface to ensure good seed-to-soil contact.
Label your containers with the variety and date sown
Cover the containers with plastic wrap or a clear dome to retain moisture
Germination and Early Care
Place your seed trays in a warm location (75-85°F) for optimal germination
Once seedlings emerge, usually within 7-10 days, remove the cover and move them to a bright spot or under grow lights.
Thinning and Transplanting
When seedlings develop their first two true leaves, thin them to one plant per cell by snipping off the weaker seedlings at soil level.
As they grow, transplant them into 6 inch pots when roots appear at the bottom.
Preparing for the Garden
About a week before transplanting outdoors, begin hardening off your seedlings by gradually exposing them to outdoor conditions
Planting in the Garden
Choose a sunny spot in your garden with well-draining soil.
Dig holes and mix in some compost and slow-release fertilizer.
Space plants 12-18 inches apart.
Provide a trellis for vertical growth.
Water thoroughly and mulch around the plants to retain moisture.
Ongoing Care
Water regularly, keeping the soil consistently moist but not waterlogged.
Support your plants with stakes or cages as they grow.
Feed with a balanced fertilizer every few weeks.
Monitor for pests and diseases, addressing issues promptly.
By following these steps, you’ll be well on your way to enjoying delicious crisp cucumbers. Remember, gardening is a learning process, so don’t be discouraged if you face challenges. With patience and care, you’ll soon be harvesting your own delicious cucumbers and using them to make salads and eat in dips.
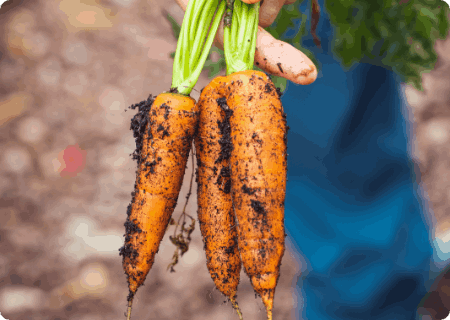
Preparation
Before planting, ensure you have the right conditions for successful carrot growth:
Choose a location with full sun to light shade
Prepare a soil bed that is loose, well-draining, and free of rocks and debris
Aim for a soil pH between 6.0 and 6.8
Soil Preparation
Turn the soil to a depth of at least 12 inches
Remove all stones and clods that could cause carrots to grow malformed
Add well-aged compost to improve soil texture
Sprinkle bone meal across the bed (avoid adding manure, which can cause hairy roots)
Water the bed deeply and let it sit for a day or two
Planting the Seeds
Create shallow furrows about 1/4 inch deep
Space rows 12-18 inches apart
Sow seeds thinly and evenly:
Drop seeds by hand, spacing them about 1-3 inches apart
You can mix seeds with sand to help distribute them more evenly
Lightly cover seeds with 1/4 inch of aged compost or potting soil
Gently press down on the soil to ensure seed-soil contact
Care and Maintenance
Keep soil consistently moist during germination
Consider covering seeds with a thin layer of mulch like shredded cardboard to retain moisture
Thin seedlings when they have 3-4 true leaves, spacing plants 2-3 inches apart
Fertilize with a low-nitrogen fertilizer (like 0-10-10)
Pro Tips
Plant carrots 3-5 weeks before the last frost date
Interplant with radish seeds to mark rows and prevent disturbing carrot seeds
For best results, use raised beds or deep containers at least 12 inches deep
Harvest Timing: Carrots are cool-season crops best grown in spring or fall to avoid summer heat, which can make them woody.